Designing your own home can be exciting, creative, and surprisingly rewarding. You do not need a professional design degree to create a beautiful, comfortable, and functional space. With the right process, measurements, planning tools, and a clear understanding of basic design principles, you can confidently take control of your interiors.
If you have ever wondered how to be your own interior designer, the answer is simple: start with your lifestyle, understand your space, create a plan, choose a cohesive style, and make decisions based on function as well as appearance.
The biggest mistake beginners make is buying furniture and décor before creating a complete plan. A successful interior is not simply a collection of attractive products. It is a carefully coordinated combination of layout, colour, lighting, materials, furniture, storage, and accessories.
This guide explains how to be your own interior designer with no experience, how to learn interior design for free, what tools you need, common mistakes to avoid, and when it makes sense to hire a professional.
What Does It Mean to Be Your Own Interior Designer?
Being your own interior designer means taking responsibility for the creative and practical decisions involved in designing your home.
You do not necessarily need professional qualifications to redesign your own living space. However, you do need to understand fundamental concepts such as:
- Space planning
- Furniture proportions
- Colour coordination
- Lighting
- Material selection
- Storage
- Circulation
- Room functionality
- Budget management
- Styling and decoration
Professional interior designers bring years of experience, technical knowledge, supplier relationships, and project-management skills. A homeowner can still apply many of the same basic principles on a smaller scale.
The goal is not to make your home look like a showroom. The goal is to create a space that works for the people who live there.
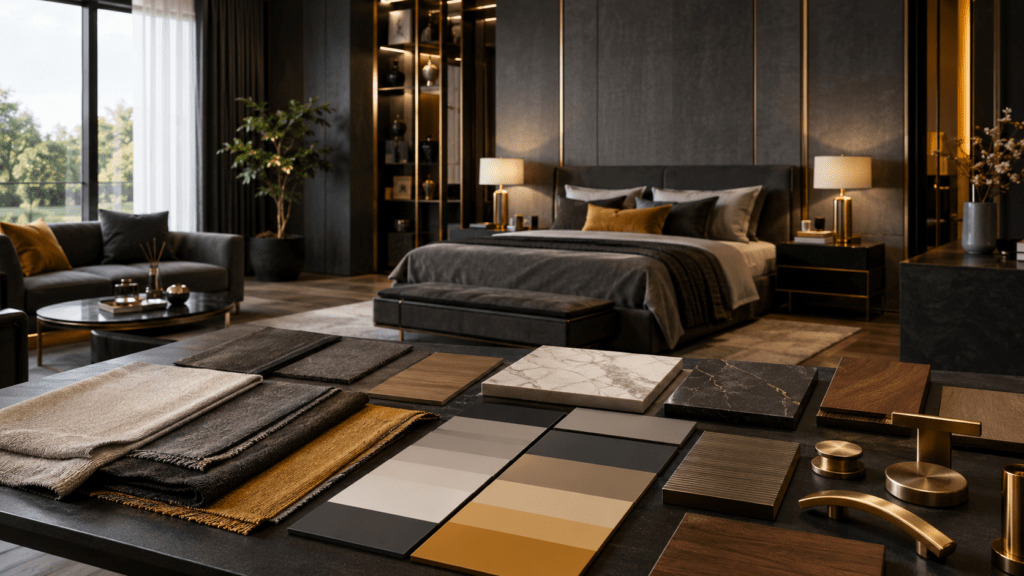
How to Be Your Own Interior Designer With No Experience
You can learn the fundamentals of interior design through observation, practice, free educational resources, design software, and real-world experimentation.
Follow this process:
- Understand your lifestyle and requirements.
- Measure your room accurately.
- Define your interior style.
- Create a mood board.
- Plan the furniture layout.
- Select your colour palette.
- Choose flooring, walls, and materials.
- Design the lighting.
- Plan storage.
- Set a budget.
- Purchase items in the correct order.
- Style and review the finished room.
Taking these steps in sequence prevents expensive mistakes and helps you make more confident decisions.
Step 1: Understand How You Use the Space
Before choosing colours or furniture, ask yourself how the room needs to function.
For example, a living room may need to accommodate:
- Family gatherings
- Watching television
- Reading
- Working from home
- Entertaining guests
- Children’s activities
- Additional storage
A bedroom may require sleeping space, wardrobes, dressing facilities, study space, and comfortable lighting.
Create a Room Requirement List
For each room, write down three categories:
Must-have: Things the room cannot function without.
Nice-to-have: Features that would improve the room if the budget allows.
Avoid: Items, colours, layouts, or features you do not want.
This simple exercise gives your project direction before you spend money.
Design Tip: Function should come before decoration. A beautiful room that is difficult to use will quickly become frustrating.
Step 2: Measure Your Room Before Buying Anything
Accurate measurements are one of the most important parts of DIY interior design.
Measure:
- Room length and width
- Ceiling height
- Door openings
- Window positions
- Window sizes
- Electrical outlets
- Switches
- Radiators or air-conditioning units
- Built-in furniture
- Structural columns
- Plumbing points where relevant
Create a basic floor plan using your measurements.
You can draw it manually on graph paper or use an online room-planning tool.
Why Measurements Matter
A sofa that looks perfect online may overwhelm a small living room. A dining table may block circulation. A wardrobe may interfere with a door opening.
Measurements allow you to test your decisions before purchasing.
Step 3: Choose Your Interior Design Style
You do not have to follow one design style perfectly. However, having a starting point makes your decisions much easier.
Popular styles include:
| Interior Style | Main Characteristics | Best For |
|---|---|---|
| Modern | Clean lines, simple forms | Contemporary homes |
| Minimalist | Clutter-free, restrained | Small spaces |
| Scandinavian | Light colours, natural materials | Bright, relaxed homes |
| Industrial | Metal, exposed textures, darker tones | Urban interiors |
| Traditional | Detailed furniture, classic finishes | Elegant homes |
| Contemporary | Current trends, balanced forms | Flexible modern homes |
| Japandi | Minimalism + natural warmth | Calm interiors |
| Bohemian | Layered textiles and eclectic décor | Creative personalities |
Instead of asking, “Which style is best?”, ask:
Which style reflects how I want my home to feel?
Words such as warm, elegant, calm, luxurious, natural, energetic, simple, or dramatic can help define your direction.
Step 4: Create a Mood Board
A mood board is a visual collection of colours, furniture, materials, lighting, artwork, and textures that represent your intended design.
You can create one using:
- Canva
- Digital design applications
- Screenshots
- Magazine cutouts
- Material samples
Try to identify patterns in the images you save.
Do you repeatedly choose:
- Warm wood?
- Neutral walls?
- Curved furniture?
- Brass details?
- Stone surfaces?
- Soft fabrics?
- Dark accents?
These patterns reveal your design preferences.
Keep Your Mood Board Focused
A common beginner mistake is saving hundreds of unrelated images.
Instead, select approximately 10–20 strong references and identify the common visual elements.
Your mood board should answer:
What should this room look and feel like when it is finished?
Step 5: Plan the Furniture Layout
Furniture arrangement can completely change how a room feels.
Start with the largest pieces first.
For a living room, this may mean:
- Sofa
- Television or media unit
- Coffee table
- Chairs
- Storage
- Side tables
- Rugs and décor
Think about movement through the room.
Follow the Principle of Clear Circulation
People should be able to move naturally between doors, windows, furniture, and important functional areas.
Avoid creating narrow pathways simply because you want to fit more furniture.
Check Furniture Proportions
Furniture should relate to the size of the room.
A large sectional sofa may work beautifully in a spacious living room but make a compact room feel crowded.
Similarly, very small furniture can make a large room feel unfinished.
Quick Rule: Do not design around individual furniture pieces. Design the entire composition of the room.
Step 6: Select a Cohesive Colour Palette
Colour is one of the easiest ways to establish a room’s personality.
A simple beginner-friendly approach is the 60-30-10 rule:
- 60%: Dominant colour
- 30%: Secondary colour
- 10%: Accent colour
For example:
- 60% warm neutral walls and larger surfaces
- 30% wood, upholstery, or secondary finishes
- 10% black, brass, green, blue, or another accent
This is a guideline rather than a strict rule.
Consider Natural Light
The same paint colour can look completely different depending on the amount and direction of natural light.
Before painting the entire room:
- Test samples.
- Observe them during the morning.
- Check them in afternoon light.
- Check them under artificial lighting.
- Compare them with your flooring and furniture.
Never choose a wall colour based solely on a tiny digital colour sample.
Step 7: Learn How to Combine Materials and Textures
A room can use a simple colour palette and still look sophisticated if different textures are layered effectively.
Consider combining:
- Wood
- Stone
- Glass
- Metal
- Linen
- Cotton
- Velvet
- Wool
- Ceramic
- Natural fibres
For example, a neutral living room can gain visual depth through wooden furniture, a textured rug, woven accessories, soft upholstery, and a stone or ceramic accent.
Avoid Using Too Many Finishes
More materials do not automatically mean better design.
Choose a controlled selection and repeat key materials throughout the home to create visual continuity.
Step 8: Design the Lighting in Layers
Lighting is often underestimated by beginners.
A well-designed room usually benefits from three layers:
Ambient Lighting
Provides overall illumination.
Examples include:
- Ceiling lights
- Recessed lights
- Chandeliers
- Pendant lights
Task Lighting
Provides focused light for specific activities.
Examples:
- Reading lamps
- Desk lamps
- Under-cabinet lights
- Dressing-area lighting
Accent Lighting
Highlights architectural or decorative features.
Examples include:
- Wall lights
- Artwork lighting
- Cove lighting
- Shelf lighting
Using only one bright ceiling light can make an otherwise well-designed room feel flat.
Step 9: Plan Storage Before Decoration
Storage should be part of your design from the beginning rather than an afterthought.
Consider:
- Built-in wardrobes
- Floating cabinets
- TV storage
- Under-bed storage
- Entryway cabinets
- Open shelving
- Modular storage
- Multipurpose furniture
The best storage is usually both accessible and visually integrated with the room.
Small-Space Storage Checklist
Before buying another cabinet, ask:
- Can unused vertical space be used?
- Can furniture provide hidden storage?
- Can built-in storage reduce visual clutter?
- Can an item serve two purposes?
- Is open shelving genuinely necessary?
- Will the storage remain practical after several years?
Step 10: Set a Realistic Interior Design Budget
DIY design does not automatically mean inexpensive design.
Your budget should include more than furniture.
Consider:
| Category | Examples |
|---|---|
| Planning | Measurements, design tools |
| Civil work | Repairs, partitions |
| Walls | Paint, wallpaper, finishes |
| Flooring | Tiles, wood, vinyl |
| Furniture | Sofa, beds, tables |
| Storage | Wardrobes, cabinets |
| Lighting | Fixtures, installation |
| Soft furnishings | Curtains, rugs, cushions |
| Décor | Art, mirrors, accessories |
| Installation | Labour and fitting |
| Contingency | Unexpected expenses |
Keep a contingency amount because renovation projects can reveal unexpected costs.
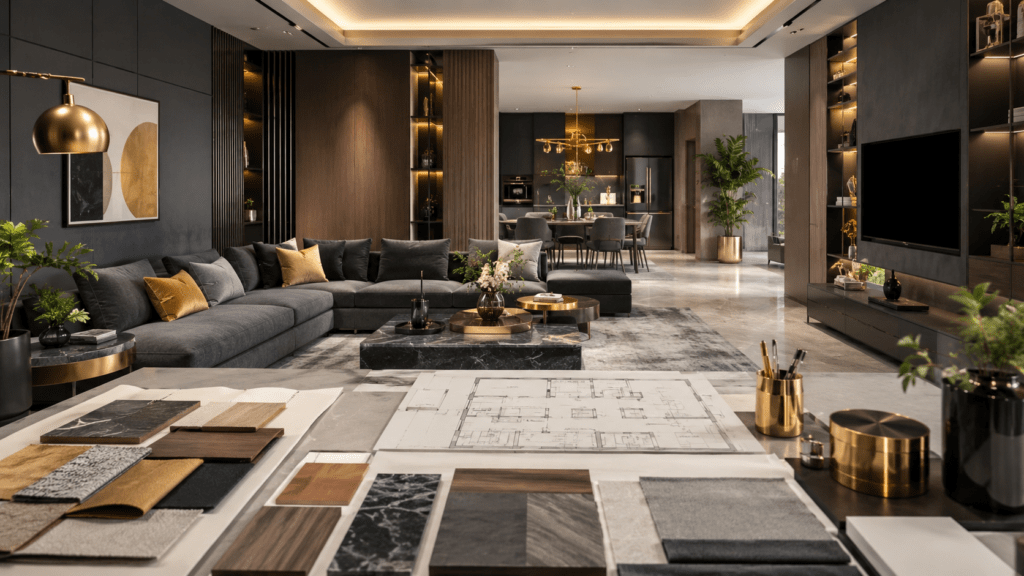
Use a Priority System
Divide purchases into:
Priority 1: Essential functionality
Priority 2: Comfort and storage
Priority 3: Visual upgrades
Priority 4: Decorative accessories
This prevents you from spending most of your budget on décor before solving fundamental problems.
Step 11: Purchase in the Right Order
Do not buy everything randomly.
A practical sequence is:
- Complete measurements and planning.
- Finalize structural or renovation work.
- Complete flooring and wall finishes.
- Install major lighting.
- Install built-in storage.
- Purchase major furniture.
- Add curtains and rugs.
- Add artwork and accessories.
- Add plants and smaller decorative pieces.
- Review and remove unnecessary items.
This approach reduces the likelihood of buying items that later conflict with the overall design.
Step 12: Style the Room Like a Designer
Once the functional elements are complete, styling brings personality into the room.
Use:
- Artwork
- Mirrors
- Plants
- Books
- Cushions
- Throws
- Decorative objects
- Vases
- Rugs
- Curtains
Use the Rule of Grouping
Instead of spreading small objects randomly around a room, create intentional groupings.
For example, a console could feature:
- One large artwork or mirror
- A table lamp
- A small decorative object
- A plant or vase
Different heights create more visual interest than objects arranged at exactly the same level.
How to Learn Interior Design for Free
You do not need to enroll in an expensive course to begin learning the fundamentals.
You can learn interior design for free through:
- Design blogs
- YouTube tutorials
- Online articles
- Virtual room planners
- Pinterest research
- Manufacturer guides
- Architecture and design publications
- Free design software
- Studying professionally designed rooms
Build Your Own Design Education
Rather than consuming random content, study one topic at a time.
Week 1: Colour theory
Week 2: Space planning
Week 3: Furniture proportions
Week 4: Lighting
Week 5: Materials and finishes
Week 6: Styling and accessories
Then practice what you learn by redesigning one room.
Learning Tip: The fastest way to improve is not simply watching more design videos. Create room layouts, test colour combinations, compare proportions, and learn from your mistakes.
Essential Tools for a DIY Interior Designer
You can start with surprisingly few tools.
Physical Tools
- Measuring tape
- Notebook
- Pencil
- Graph paper
- Sample boards
- Paint swatches
- Material samples
Digital Tools
- Room-planning software
- Mood-board tools
- Spreadsheet for budgeting
- Online furniture catalogues
- Colour palette tools
- 3D visualization applications
You do not need expensive professional software at the beginning.
A basic floor plan, mood board, spreadsheet, and measuring tape can take you a long way.
DIY Interior Design vs Hiring a Professional
Knowing when to design yourself and when to get professional help is equally important.
| Factor | DIY Interior Design | Professional Designer |
|---|---|---|
| Cost | Usually lower design fees | Professional fees apply |
| Creative control | Very high | Shared |
| Time | Requires your time | Saves significant time |
| Expertise | Self-taught | Professional experience |
| Complex renovations | More challenging | Better suited |
| Contractor coordination | Usually your responsibility | Often managed |
| Custom solutions | Depends on your skills | More expertise available |
| Large projects | Can become overwhelming | Better project structure |
For simple cosmetic updates, DIY design can be an excellent choice.
For major structural changes, electrical modifications, plumbing work, complex cabinetry, or large renovations, professional support can reduce risks and costly mistakes.
Common Interior Design Mistakes Beginners Should Avoid
1. Buying Furniture Before Measuring
Always measure first.
2. Choosing Trends Over Function
Trends change. Your lifestyle requirements are more important.
3. Using Too Many Colours
A controlled palette usually feels more cohesive.
4. Ignoring Lighting
Even beautiful furniture can look poor under badly planned lighting.
5. Pushing Everything Against the Walls
Furniture does not always need to touch the perimeter of the room. Depending on the space, creating intentional zones can improve the layout.
6. Buying Décor Too Early
Accessories should complement the finished design rather than dictate it.
7. Forgetting Scale
A tiny rug beneath a large sofa arrangement can make the room feel disconnected.
8. Creating a Showroom Instead of a Home
Your home should reflect your personality, routines, memories, and comfort.
A Step-by-Step DIY Interior Design Checklist
Use this checklist before starting your project:
- Define how the room will be used
- Measure the entire space
- Create a basic floor plan
- Identify architectural limitations
- Choose a design direction
- Build a mood board
- Select a colour palette
- Plan furniture placement
- Check circulation
- Select flooring and wall finishes
- Plan layered lighting
- Design storage
- Create a realistic budget
- Prioritize essential purchases
- Order major items first
- Add textiles and accessories
- Review the finished room
- Remove unnecessary clutter
When Should You Hire an Interior Designer?
DIY interior design is not suitable for every project.
Consider professional help when your project involves:
- Major structural changes
- Complex electrical work
- Extensive plumbing
- Custom architectural solutions
- Large-scale renovations
- Multiple contractors
- Tight deadlines
- Highly detailed custom furniture
- Difficult spatial constraints
You can also use a hybrid approach.
For example, you could develop your style, mood board, and basic preferences yourself, then hire an interior designer for technical planning, execution, custom furniture, or contractor coordination.
This can give you creative involvement while reducing the complexity of the project.
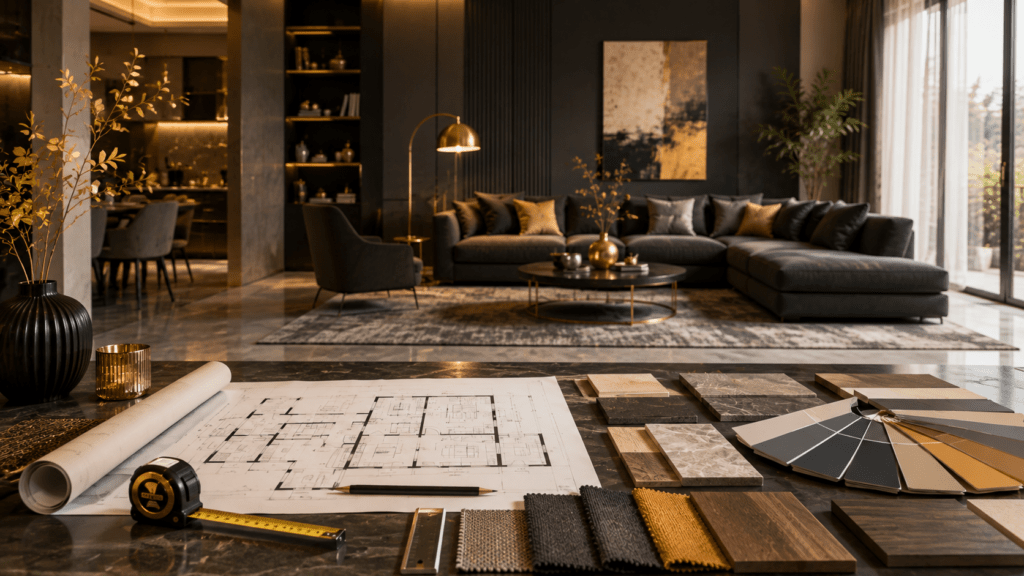
How to Make Your Home Look More Expensive Without Overspending
A sophisticated interior is not necessarily the one with the most expensive products.
Focus on:
Consistency
Repeat selected materials, colours, and finishes throughout the room.
Proportion
Choose furniture and décor that are appropriately sized.
Lighting
Layered lighting can dramatically improve atmosphere.
Decluttering
A clean, organized room often feels more refined.
Quality Over Quantity
Instead of filling every empty surface, choose fewer pieces that genuinely contribute to the design.
Details
Well-finished curtains, coordinated hardware, attractive cushions, artwork, and carefully selected accessories can elevate an ordinary room.
Final Thoughts
Learning how to be your own interior designer is less about having perfect artistic skills and more about learning how to make intentional decisions.
Start with your lifestyle. Measure carefully. Understand your space. Choose a clear design direction. Plan furniture before buying it, build a cohesive colour palette, layer your lighting, solve storage requirements, and maintain a realistic budget.
Most importantly, do not try to finish everything at once.
Start with one room, document what works, learn from what does not, and gradually develop your design confidence.
If your project becomes too complex or you want a professionally planned and executed interior, working with an experienced interior design team can help turn your ideas into a practical, cohesive, and polished home.
Yes. You can design your own home without an interior design degree. Start by learning basic principles such as space planning, colour, lighting, proportions, materials, and furniture arrangement. For technical or regulated construction work, however, qualified professionals may be required.
Start with one room. Measure it, identify its purpose, choose a style, create a mood board, plan the furniture arrangement, select a colour palette, set a budget, and then purchase items according to your plan.
You can learn the fundamentals through free online tutorials, design articles, videos, room-planning tools, mood-board exercises, and by studying professionally designed interiors. Practical experimentation is one of the best ways to develop your design skills.
Prioritize function, proportion, and circulation before decoration. A room should be comfortable and practical before you add accessories and decorative details.
For a simple room makeover, DIY interior design can work very well. For major renovations, structural modifications, complex electrical or plumbing work, or large turnkey projects, professional assistance can save time, reduce mistakes, and improve execution.